Sand Dune Photography

March 5th, 2017

I figured it about time I upgrade my kit. I love landscape photography, but I was constrained by my camera and lenses. So before embarking on a new journey, I upgraded a bit of my kit. I ordered the Canon EF 16-35mm f/2.8L III USM from Amazon Japan. Its so much cheaper from Japan then here in Sydney, so happy with the cheaper price I got.

So to test out this new baby, Anton and I headed for Port Stevens to take photos of some dunes. The weather wasn’t the best, but we still got some good pics:

flickr

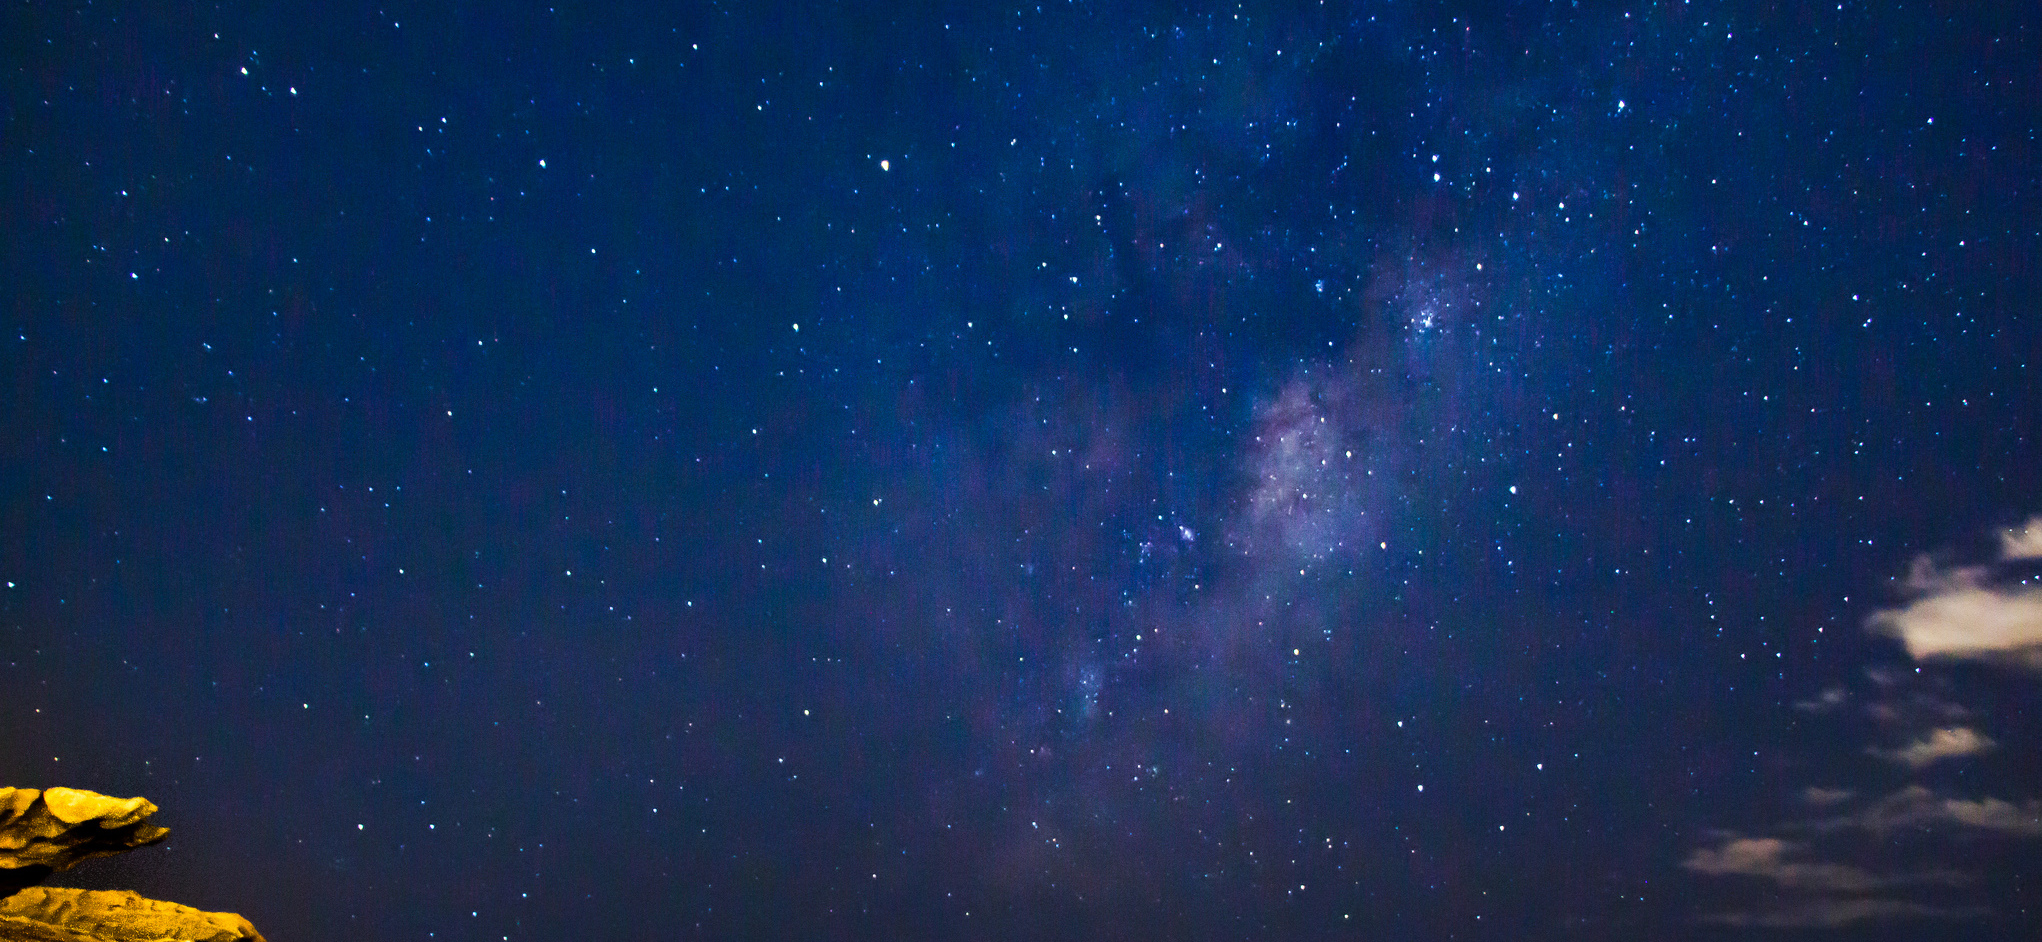
Clovelly Milky Way

Milky Way Photography

May 7th, 2016

Night photography is something that I have always wanted to learn to do well, but have failed over and over again. In the past, I wouldn’t have a tripod, so taking good night shots was near impossible. Then I had the technology, but lacked the skills. Now I have finally started learning how to take photos of the stars and what details to bring out in a photo, if I want to see beyond the horizon. ‘

Once again my coworker and mentor Anton, invited me to take some photos with him. This time though the goal was to get a perfect shot of the Milky Way. We set up at the cliffs near Clovelly Beach and started experimenting with various angles, exposure and ISO settings. After a few hours and about 50 photos later, we had enough to make something gorgeous.

Once a photo is taken, it does not mean its final, taking the photo is just half the work. When shooting in RAW, the camera doesn’t automatically post-process the photos, it leaves as much data about the shot as possible and leave the processing to us – the photographers. Thats why our job to edit these shots with software like Lightroom or Photoshop. We have all the controls: exposure, white balance, contrast, etc… and it is our job to make sure to bring out the best of the photo, without making it too unrealistic.

Well since this was my first time editing a shot of the night sky and the Milky Way, I had to seek some help online. I found some great tutorials and videos explaining the process of editing night shots, and the example I ended up following, is this one. If you are planning to take some night shots, then I would highly recommend you watch some guides, and listen to advice form professionals.

But, even though I followed the tutorials for editing my photos, some still came out grainy and hazy. I can not do much about that, as I actually did mess up the ISO and exposure settings a bit when taking these photos, as I did not adhere to the 500 rule.

As always, my photos are available on my –

flickr_logo

Sunrise Photography

March 25th, 2016

Ever since I got a new DSLR and lenses, I have been intrigued by the opportunities it has given me in terms of my photography. I have been trying out various angles, lighting, scenery (whenever I travel) and try get photos that would leave my viewers amazed. And I thought I was doing pretty well. But as with anything, there will always be someone who is better then you. Even though that sounds discouraging, I believe that its important to befriend that person and ask them to teach, to mentor you until you acquire skills similar to theirs.

That is exactly what I have done with my photography. First, my Singaporean friend Darrell showed me the ropes, taught me the basics of manual shooting. Then in Japan, our Turkish gaijin Burak showed me some tips and tricks with night photography, moving objects and just refined my skills overall. While I was away, my potato friend Seb learned a lot about photography and pretty much taught me how to post-process photos in Lightroom to make then even better. Now after starting my new job at WiseTech Global, I have met yet another person who has amazing skills, that I would love to learn – Anton. Please check out his photos on his website FotoForge and Facebook Page. He loves taking photos of the environment: landscapes, seascapes, buildings, anything. And he invited me to take photos of the sunrise at Maroubra beach. And as you can imagine, the views were stunning. Take a look:

flickr_logo