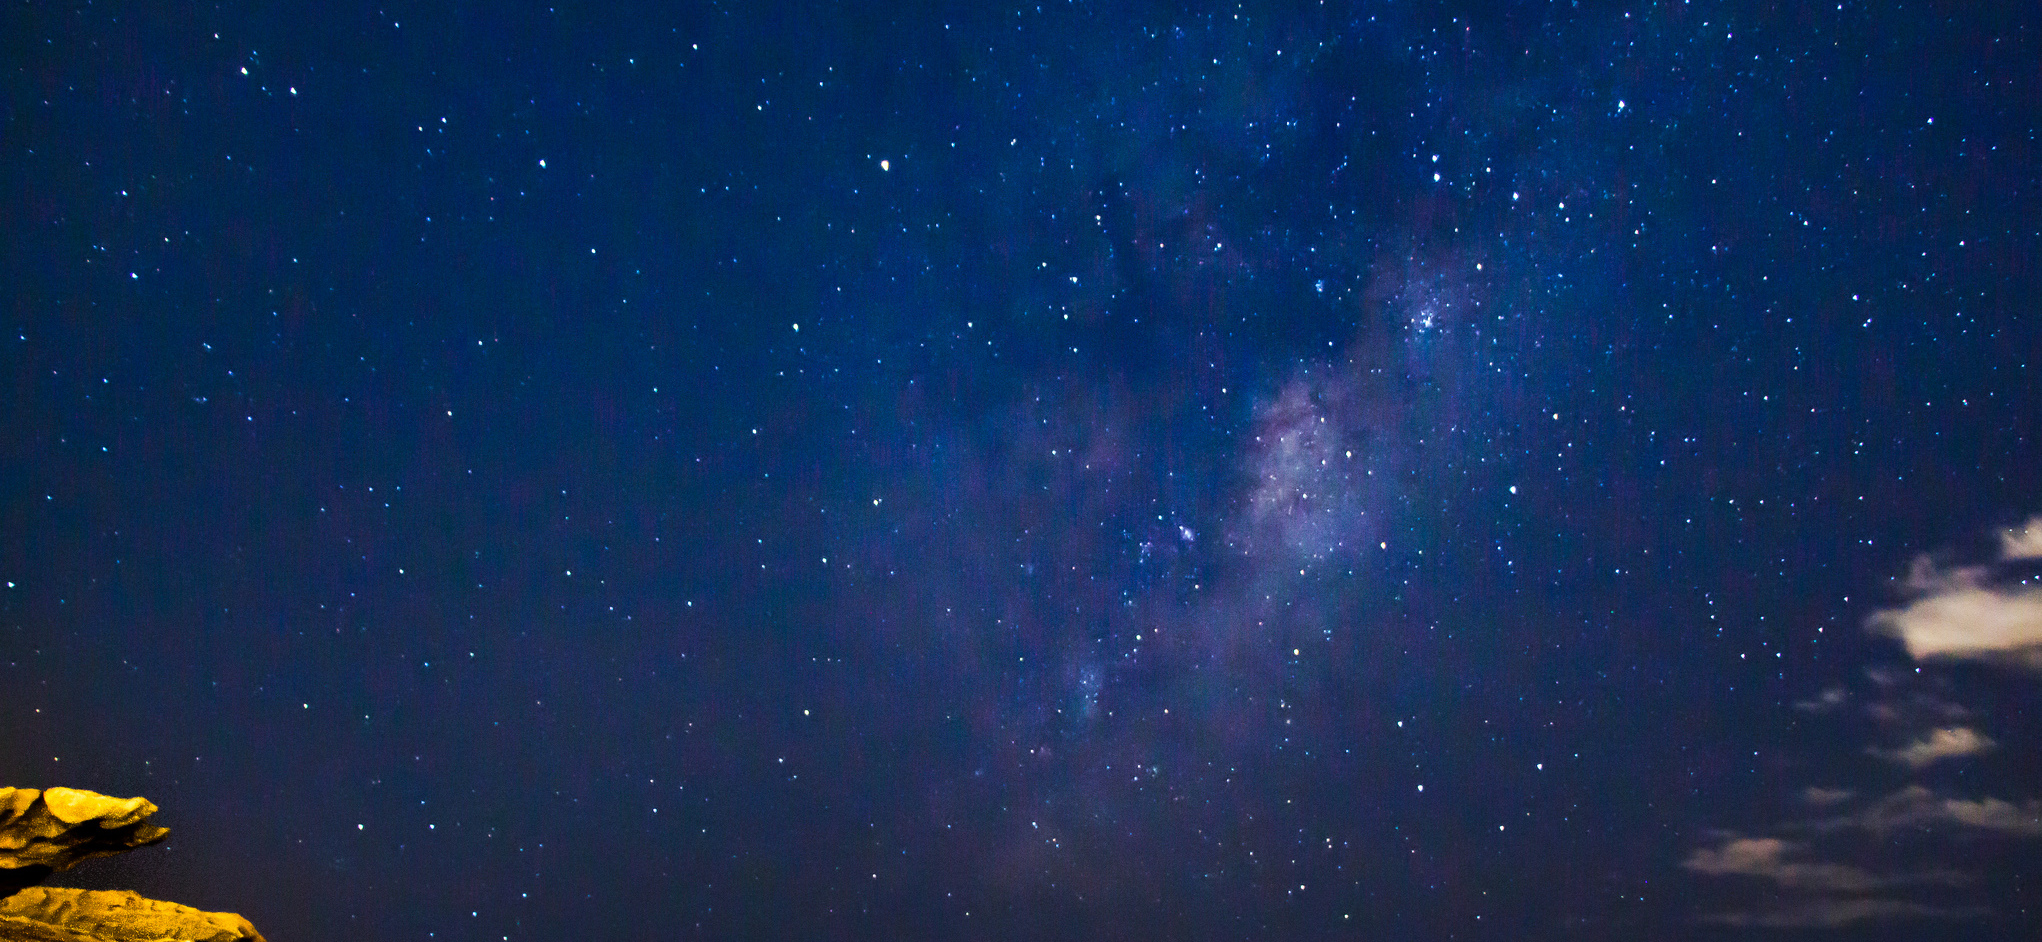
Night photography is something that I have always wanted to learn to do well, but have failed over and over again. In the past, I wouldn’t have a tripod, so taking good night shots was near impossible. Then I had the technology, but lacked the skills. Now I have finally started learning how to take photos of the stars and what details to bring out in a photo, if I want to see beyond the horizon. ‘
Once again my coworker and mentor Anton, invited me to take some photos with him. This time though the goal was to get a perfect shot of the Milky Way. We set up at the cliffs near Clovelly Beach and started experimenting with various angles, exposure and ISO settings. After a few hours and about 50 photos later, we had enough to make something gorgeous.
Once a photo is taken, it does not mean its final, taking the photo is just half the work. When shooting in RAW, the camera doesn’t automatically post-process the photos, it leaves as much data about the shot as possible and leave the processing to us – the photographers. Thats why our job to edit these shots with software like Lightroom or Photoshop. We have all the controls: exposure, white balance, contrast, etc… and it is our job to make sure to bring out the best of the photo, without making it too unrealistic.
Well since this was my first time editing a shot of the night sky and the Milky Way, I had to seek some help online. I found some great tutorials and videos explaining the process of editing night shots, and the example I ended up following, is this one. If you are planning to take some night shots, then I would highly recommend you watch some guides, and listen to advice form professionals.
But, even though I followed the tutorials for editing my photos, some still came out grainy and hazy. I can not do much about that, as I actually did mess up the ISO and exposure settings a bit when taking these photos, as I did not adhere to the 500 rule.
As always, my photos are available on my –

